

1) Open Integrations > Add Workflow Integration
- In the Kubiya UI, go to Integrations.
- Under Workflow Triggers click Add Trigger or Browse Integrations.
- Select GitHub (App) from the list.
2) Create a named connection
- A small dialog appears asking for a Connection Name (e.g.,
Production,staging,team-x). - Enter a descriptive name and click Continue to OAuth (or Continue).
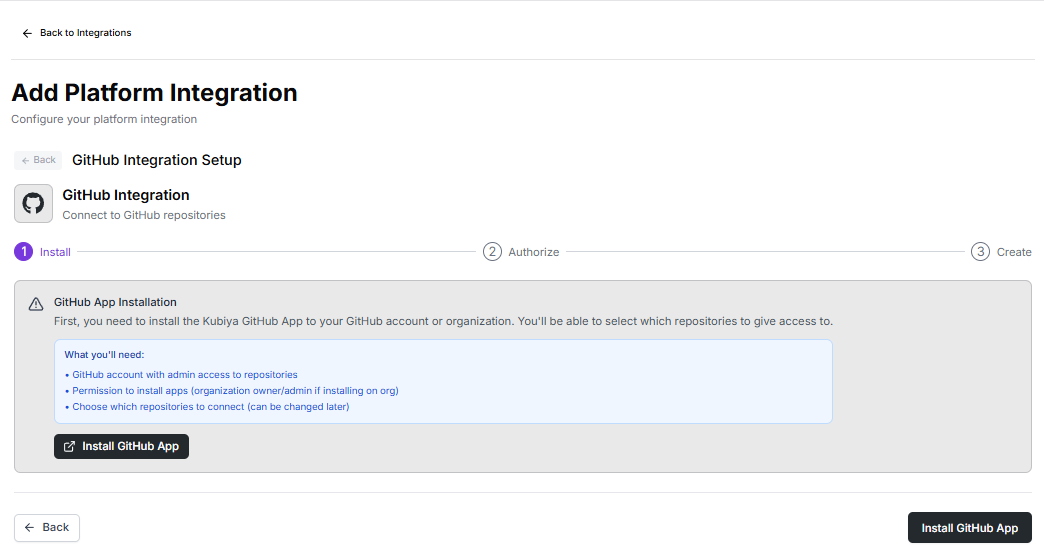
3) Authenticate and install the GitHub App (OAuth flow)
- You’ll be redirected to GitHub’s install dialog (the “Link GitHub (App) Account” page).
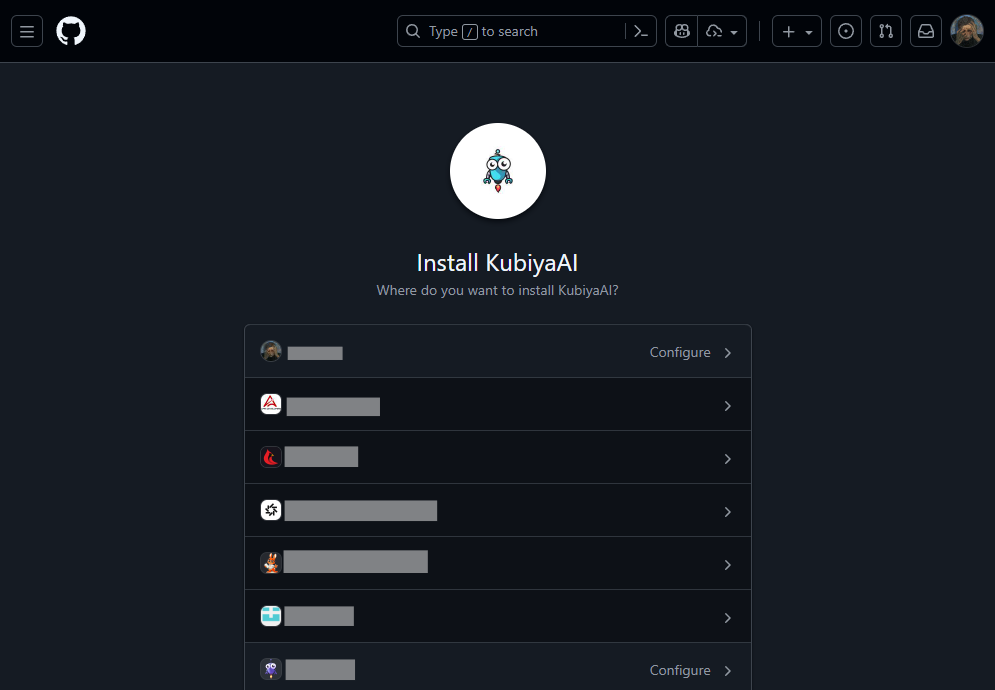
- Choose where to install the Kubiya/GitHub app:
- Select your user account or an organization.
- Click Configure (or Install) and grant the requested permissions.
4) Choose repository access
- On GitHub choose All repositories (recommended for broad triggering) or Only select repositories (recommended for least privilege).
- Click Save / Install to complete the install.
5) Confirm connection in Kubiya
- After successful install you’ll be returned to Kubiya. The new connection appears under GitHub (App) with the name you provided.
- The connection card shows status (Active/Connected) and the connection date. You can Add Connection again to create more named connections.
6) Use the connection as a workflow trigger
- When creating or editing a workflow you can pick the GitHub trigger and select the connection you installed.
- Events such as PR opened, push, issue created will now be able to trigger workflows via the installed GitHub App.
Manage a connection
- From Integrations > GitHub (App) open the connection card to view details (status, connection name, created date).
- Use Add Connection to create additional connections (e.g., separate orgs, staging vs production).
Permissions & what Kubiya needs
Kubiya’s GitHub App typically needs:- Read access to repository metadata (name, branches, PRs).
- Webhook creation permission (so events will be sent).
- Read (and optionally write) access to contents if workflows need to check out or modify files / create statuses.
- (If you grant “All repositories” access the app sees all repos in the account/org, prefer “select repos” for least privilege.)
Quick troubleshooting
- Install not visible: Make sure you selected the correct GitHub organization or user during the install step. Re-run Add Connection and check GitHub permissions.
- Triggers don’t fire: Confirm the workflow trigger is configured to use that connection and that webhooks are enabled in the app install page on GitHub.
- Permission denied / insufficient scope: Revisit GitHub’s app settings and add the required repository or organization permissions.
- Redirect/OAuth blocked: Ensure your browser allows the OAuth popup and redirects. If your org blocks third-party app installs, ask your GitHub org admin to approve Kubiya’s GitHub App.
- Multiple connections: If you have multiple GitHub accounts/orgs, create one connection per account/org and name them clearly (e.g.,
github-production,github-qa).
Security recommendations
- Use select repositories if you only need triggers for a subset of repos (least privilege).
- Give the app the minimum scopes required by your workflows (start conservative and expand only when needed).
- Track installed connections and remove ones no longer used.