

What it does
- Orchestration & routing – Receives tasks from the Composer and sends them to the right task queue.
- Configuration hub – Central place for:
- Tool definitions and Skills
- MCP server connections
- LLM gateways / model routing
- Organization policies and guardrails
- Integrations and credentials (attached through Environments)
- Context registry – Surfaces your Projects, Teams, Environments, and Policies so agents run with the right context.
- Observability & audit – Streams status/logs and keeps a complete execution history per plane.
Hosted vs. Self-Hosted
- Kubiya Hosted (Managed) – Fastest way to start and evaluate. Best for internet-reachable workloads. Zero ops burden.
- Self-Hosted Control Plane – Use when you need VPC-only access, compliance boundaries, or custom integrations. Full access to private resources; you operate and scale it.
Scope & isolation
- The selected control plane is the active scope for the UI. New objects are created in that plane.
- Objects and executions do not cross planes. Switching planes does not move tasks or data.
- Common patterns: one hosted plane for experimentation; dedicated self-hosted planes per region/business unit.
What you’ll configure
When creating a self-hosted plane, you’ll choose:- Deployment platform
- Enterprise: Kubernetes Operator (recommended), OpenShift Operator
- Serverless (zero infra mgmt): Vercel, GCP Cloud Run, AWS Lambda, Cloudflare Workers
- Resource profile – Minimal (dev), Standard (prod), or High Performance
- Security & RBAC – Cluster-wide access (optional), network policies, run-as-non-root
- Storage – Enable persistent storage and pick a storage class
- Components – Workflow Engine, Dagger Runtime (container tool execution), Image Updater
- Monitoring & telemetry – Prometheus metrics and OpenTelemetry tracing
Create a control plane
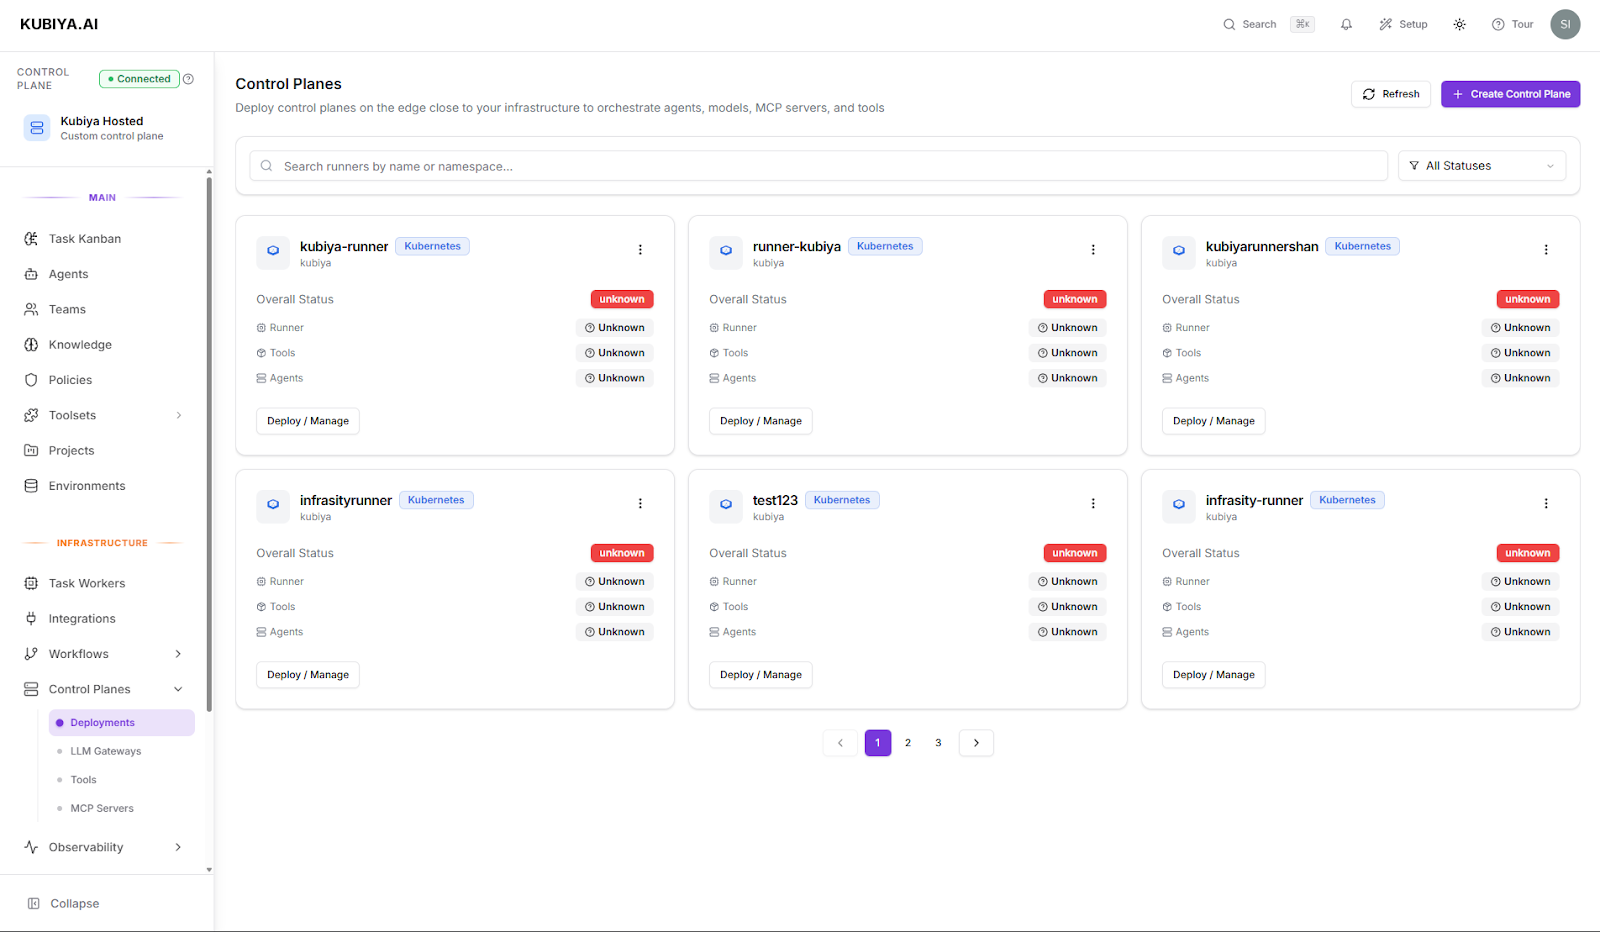
- Open: In the left nav, go to Infrastructure > Control Planes and click Create Control Plane (or use the control-plane switcher at the top-left and choose Create Self-Hosted Control Plane).
- Choose your deployment platform:
- Kubernetes/OpenShift for full control and observability.
- Serverless options for zero-ops evaluation or lightweight workloads.
- Basic setup:
- Name – Unique, lowercase; shown across the UI.
- Deployment target – Pre-selected by the platform you chose.
- Resource profile – Minimal / Standard / High Performance.
- Options – Toggle Persistent storage (recommended for prod), Monitoring & telemetry, and Cluster-wide access (only if tools require cross-namespace access).
- Advanced configuration (optional):
- Security & RBAC – Network policies; run as non-root; scope cluster-wide access if needed.
- Storage – StorageClass and retention.
- Components – Enable/disable Workflow Engine, Dagger Runtime, Image Updater.
- Telemetry – Prometheus + OpenTelemetry; scrape interval.
- Generate install assets: Click Create Control Plane. The UI produces a platform-specific config (e.g., a
values.yaml) and an install command.- Kubernetes/OpenShift: run the shown command (Helm/Operator) with permissions to create namespaces, deployments, services, PVCs, and (if enabled) cluster-wide roles.
- Serverless: follow the shown deploy command/link for your provider.
- Verify readiness: After deployment, the plane appears in Control Planes with a Ready status. From here you can:
- Register LLM Gateways and MCP Servers
- Create Skills
- Set Policies
- Proceed to Environments, Agents, Teams, Projects, and Task Queues
Good defaults
- Start on Kubiya Hosted; add self-hosted planes as needs grow.
- Enable Persistent storage for anything beyond quick trials.
- Keep Cluster-wide access off unless a tool genuinely needs it; prefer namespace-scoped access.
- Turn on OpenTelemetry to integrate traces with your observability stack.
Notes & migration
- Execution capacity comes from Task Queues attached to the plane.
- Executions are deterministic and step-isolated; failures are contained to the failing step and visible in audit logs.
- To move assets between planes, export/import workflows and recreate dependent objects (environments, Skills, policies) on the target plane.